This guide will walk you through the process of creating variables, performing data binding, and utilizing these variables in your user interface elements.
To begin, navigate to the Variables tab located on the left sidebar. Here, you can create the variables that you want to bind to UI elements.
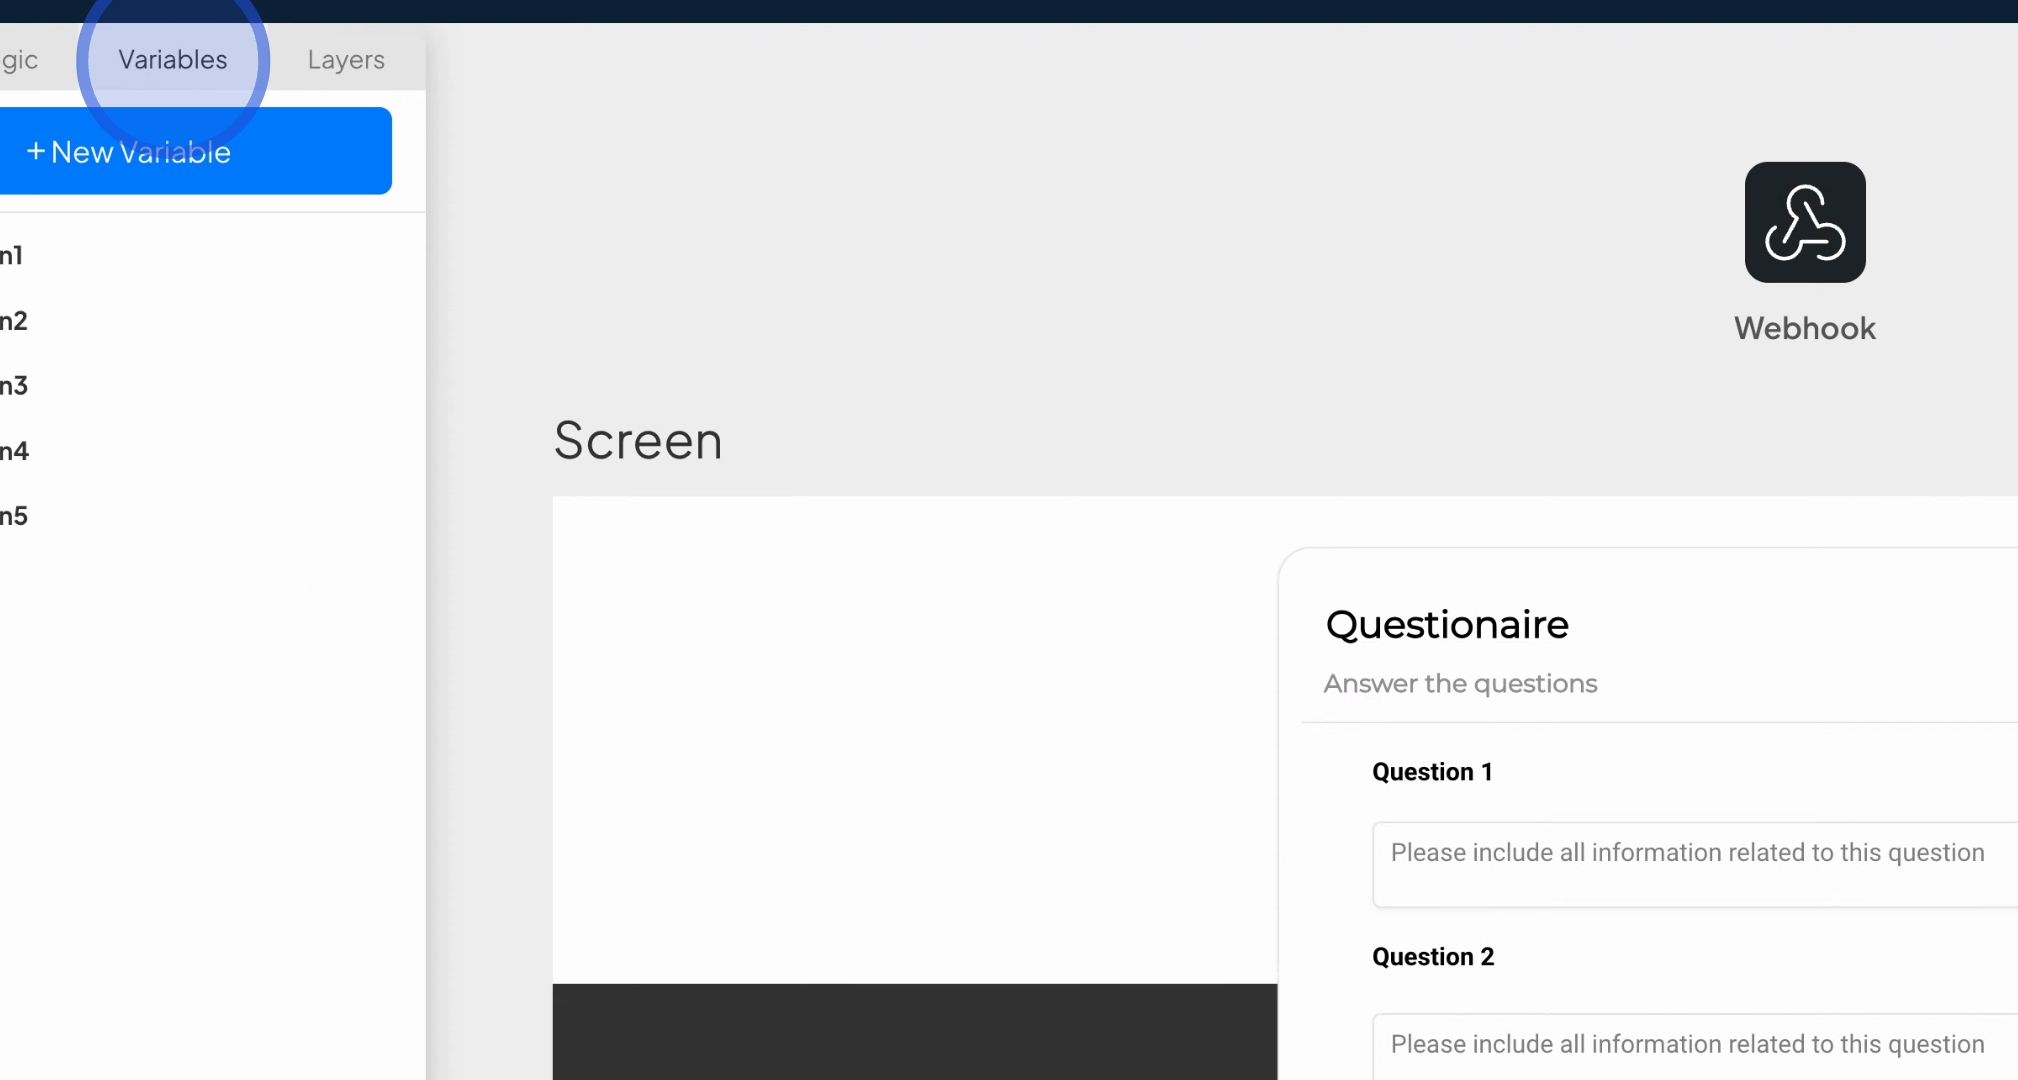
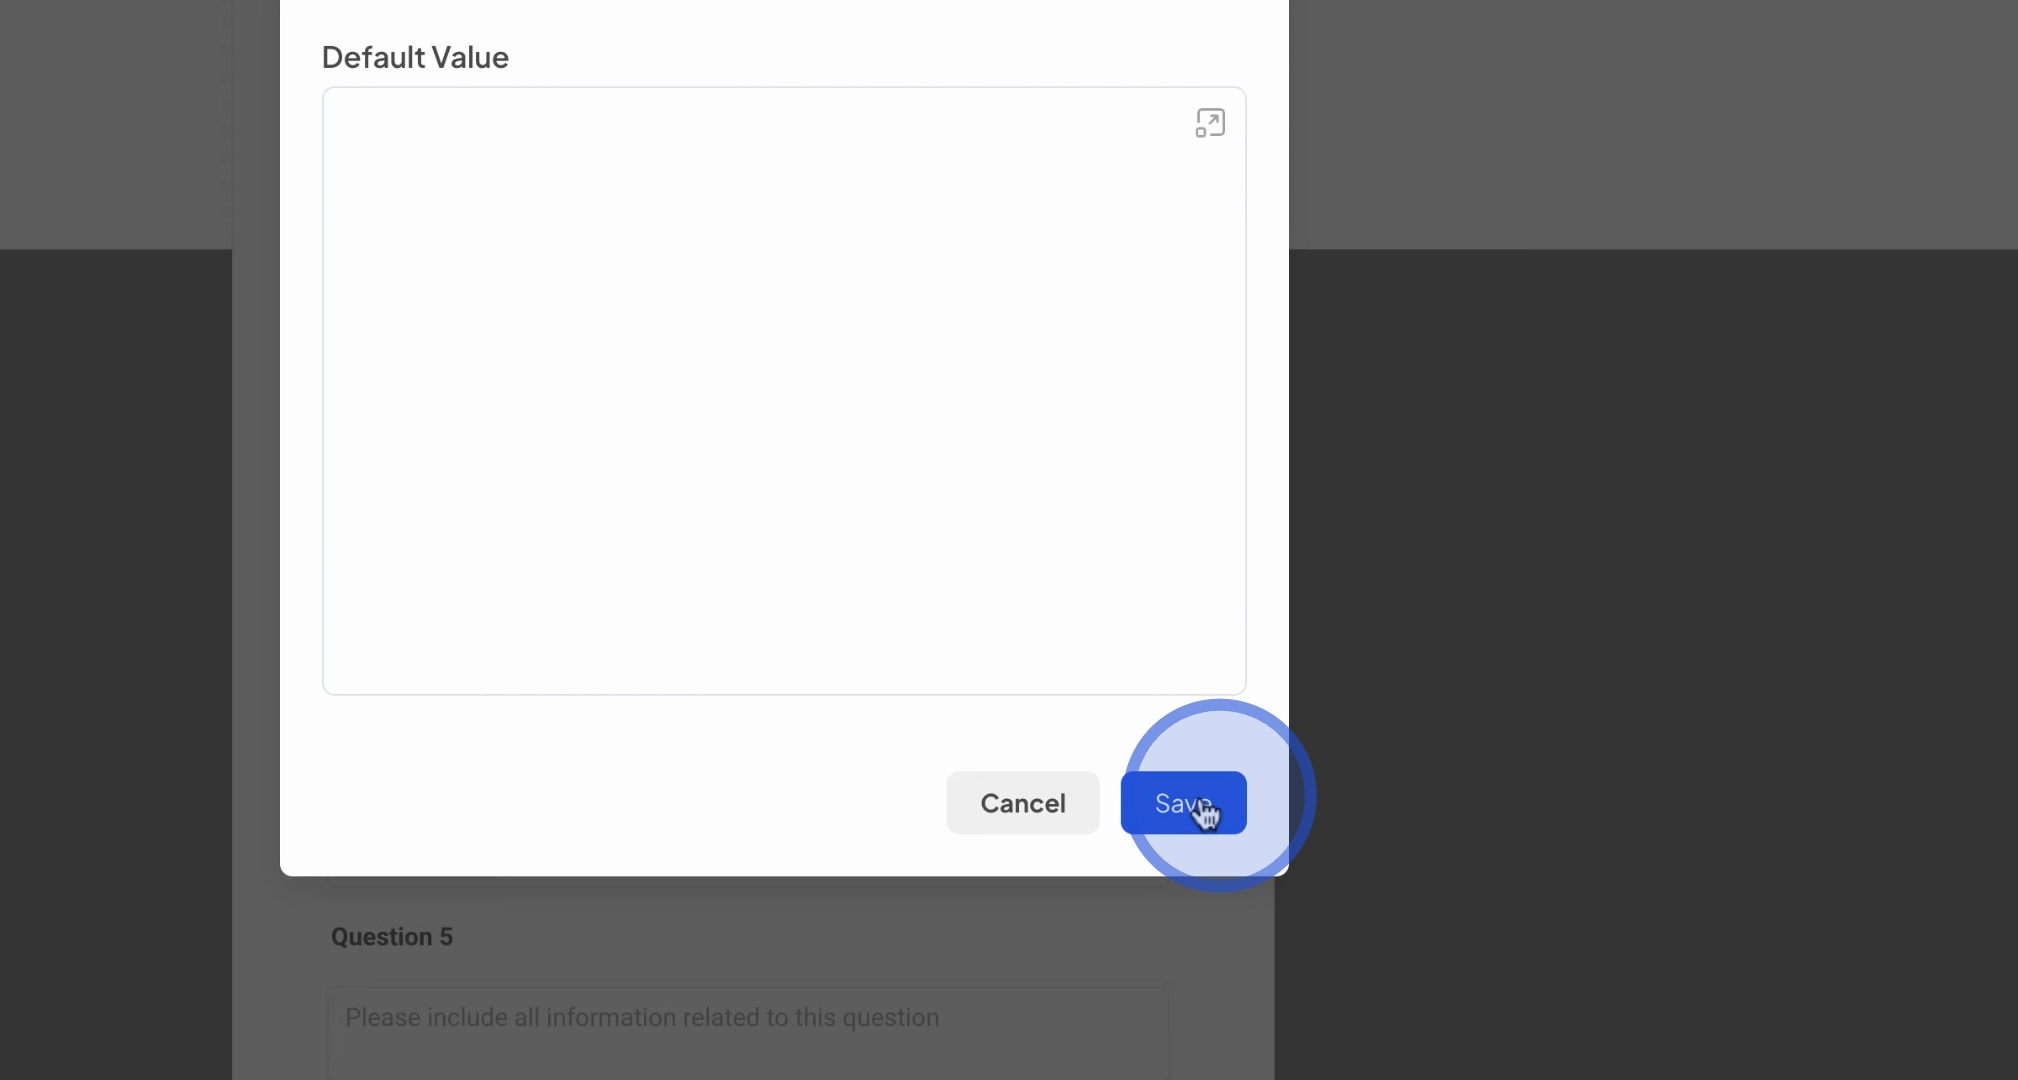
Start the creation of variables by pressing the New Variable button. You will need to provide a name for your variable, for instance, result one. Additionally, you have the option to set default values, which is particularly helpful for prompts.
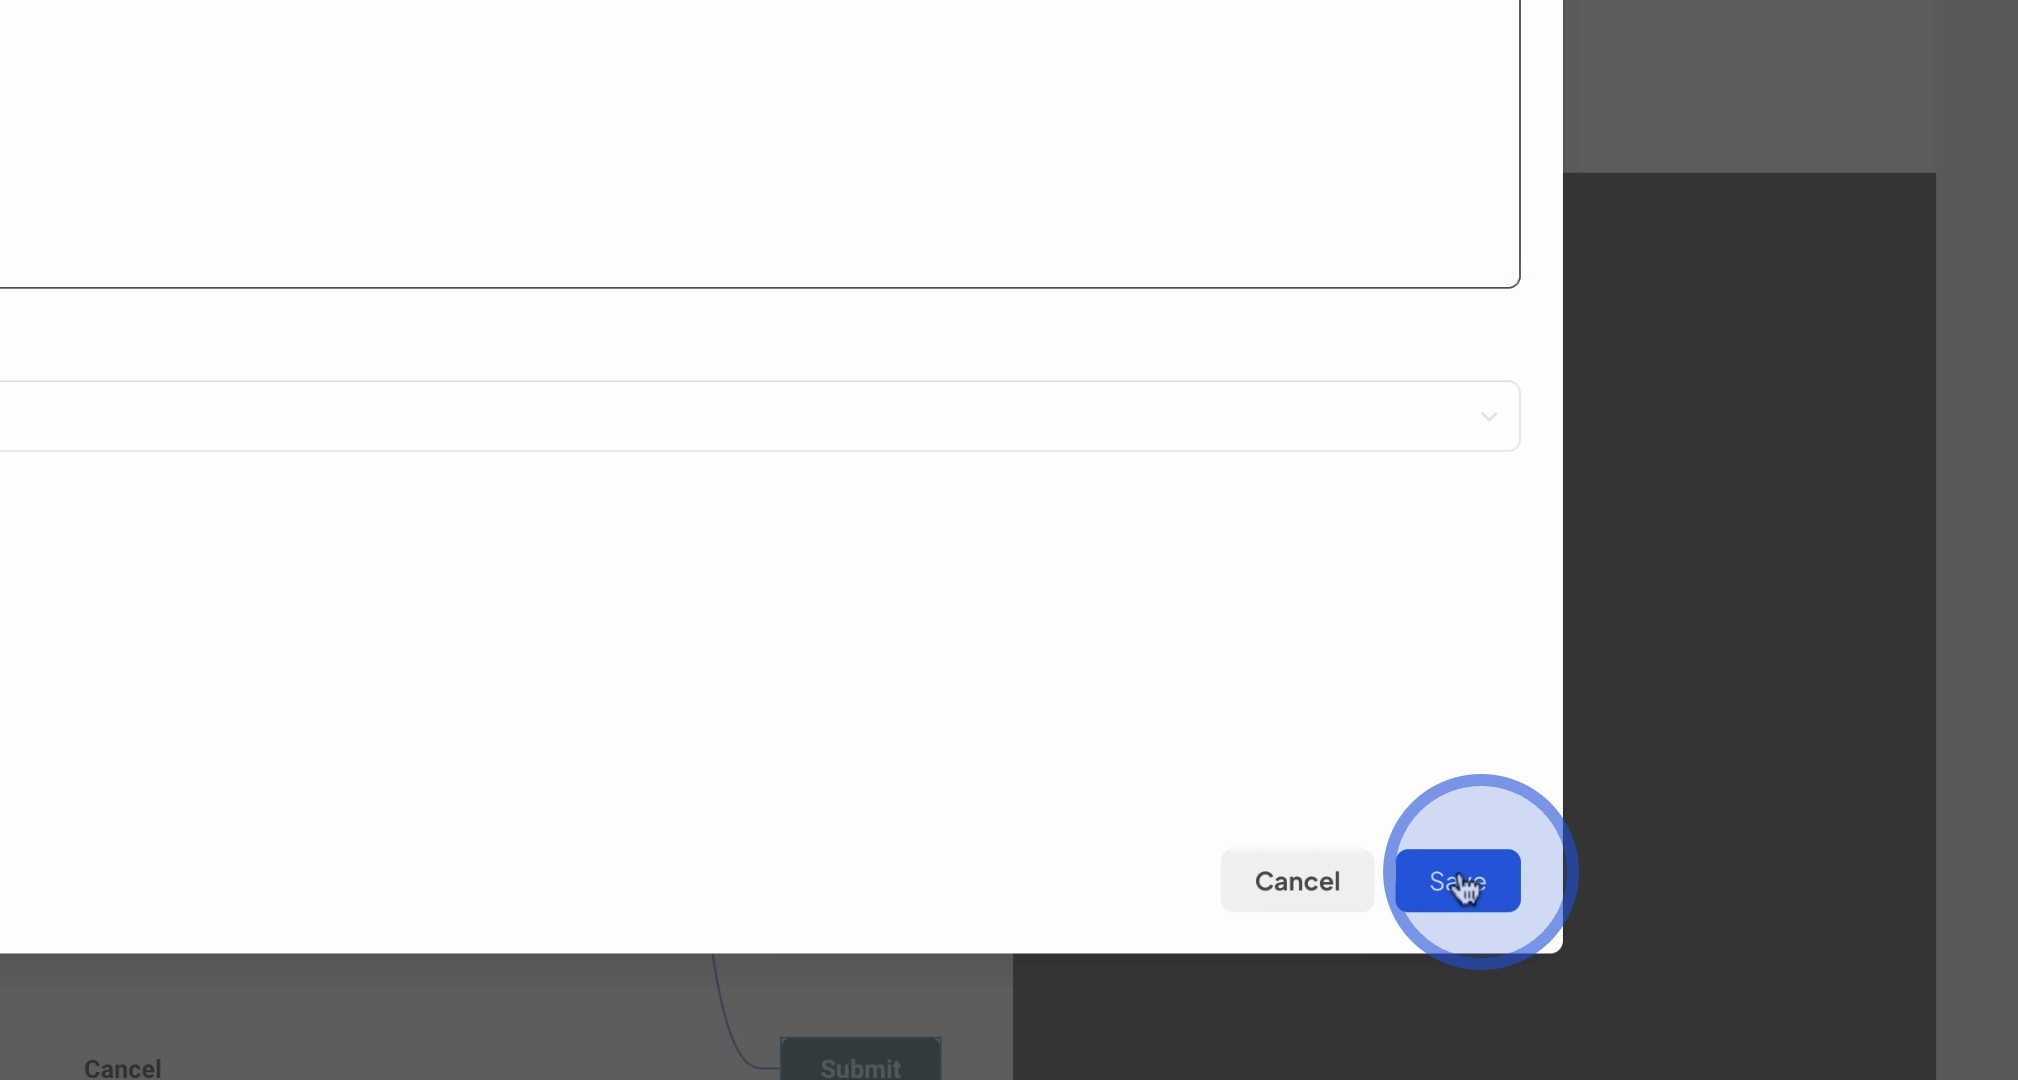
After configuring your variable, save it to finalize the creation process. Once saved, your variable will be generated.
Next, click on your text box and proceed to the Flow Builder. In the flow builder, you can execute logic and perform data binding.
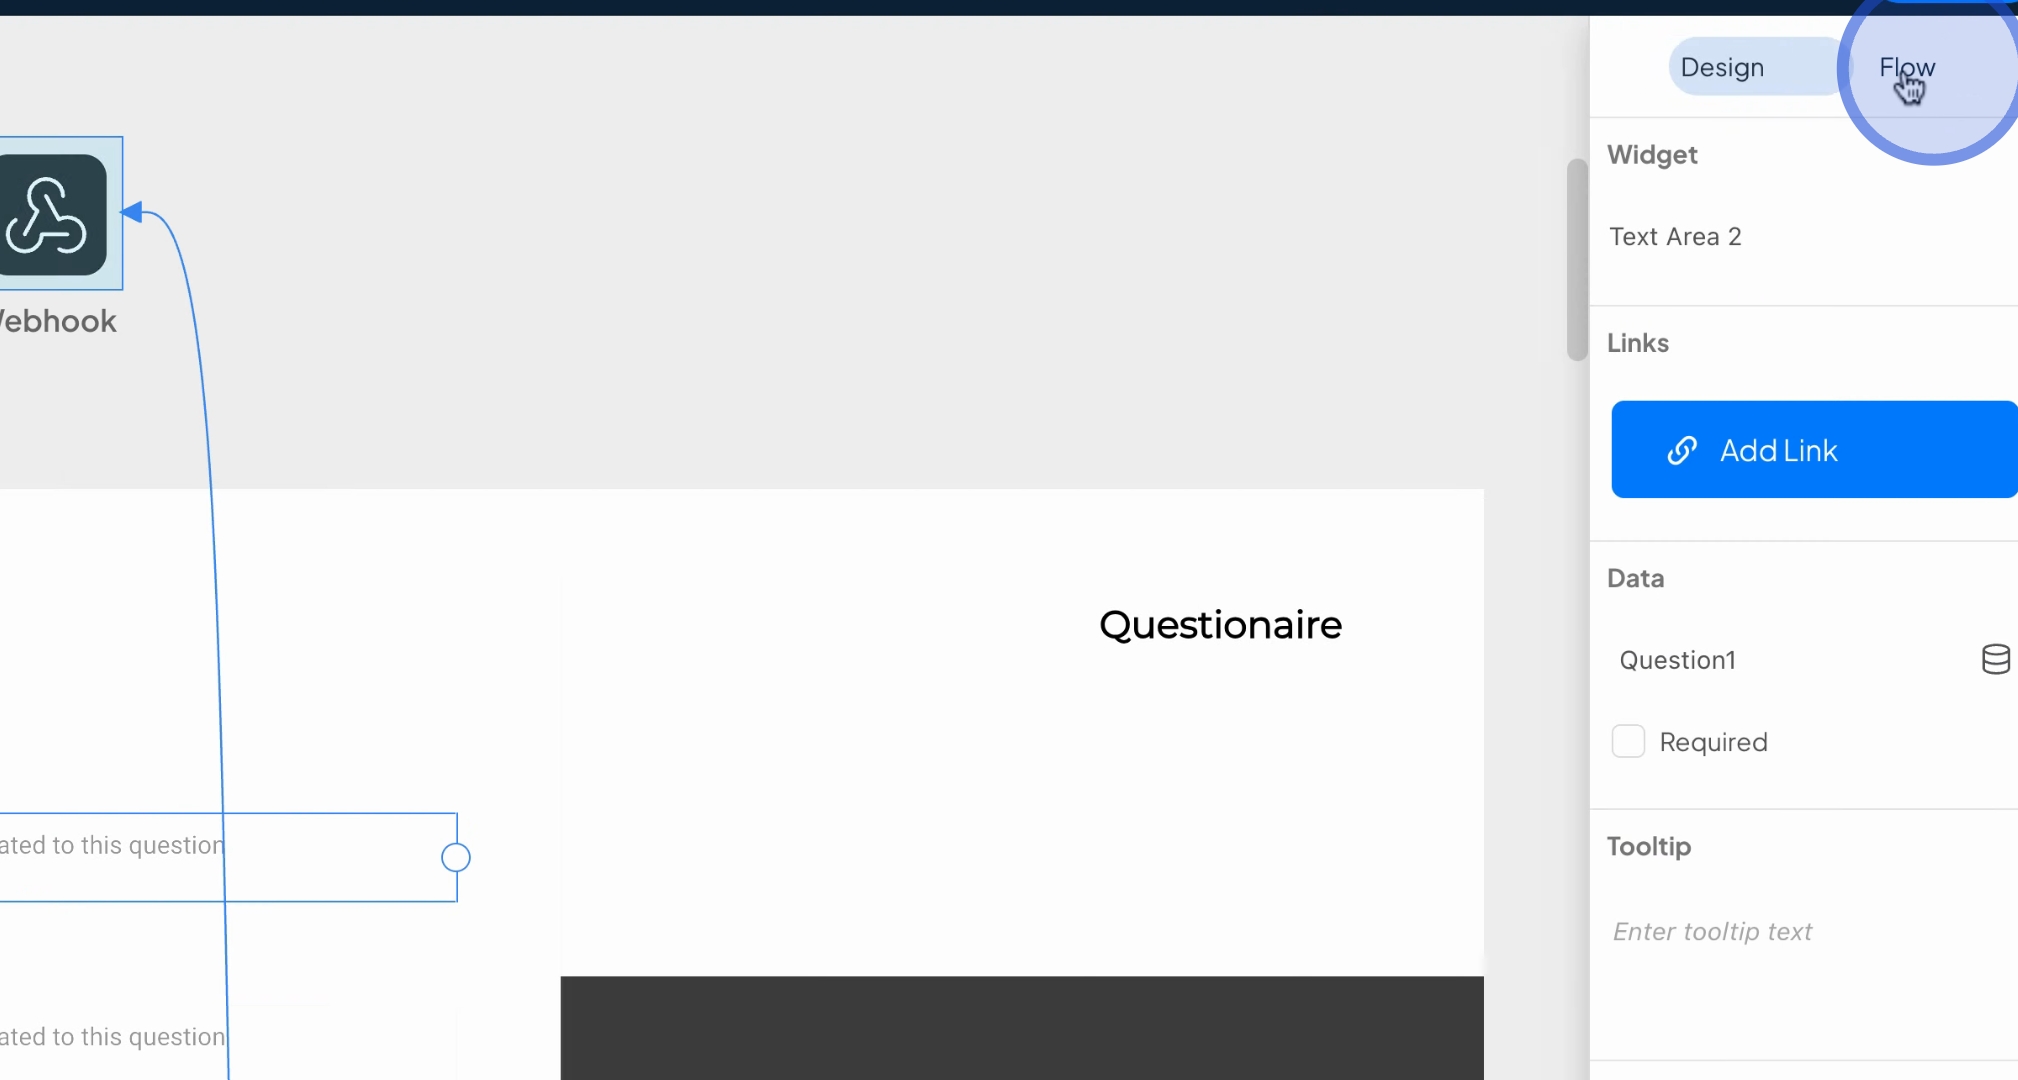
Within the flow builder, you will find a section labeled Data, accompanied by a search box. Use this box to search for the variables you created, such as result one, and bind it to your variable.
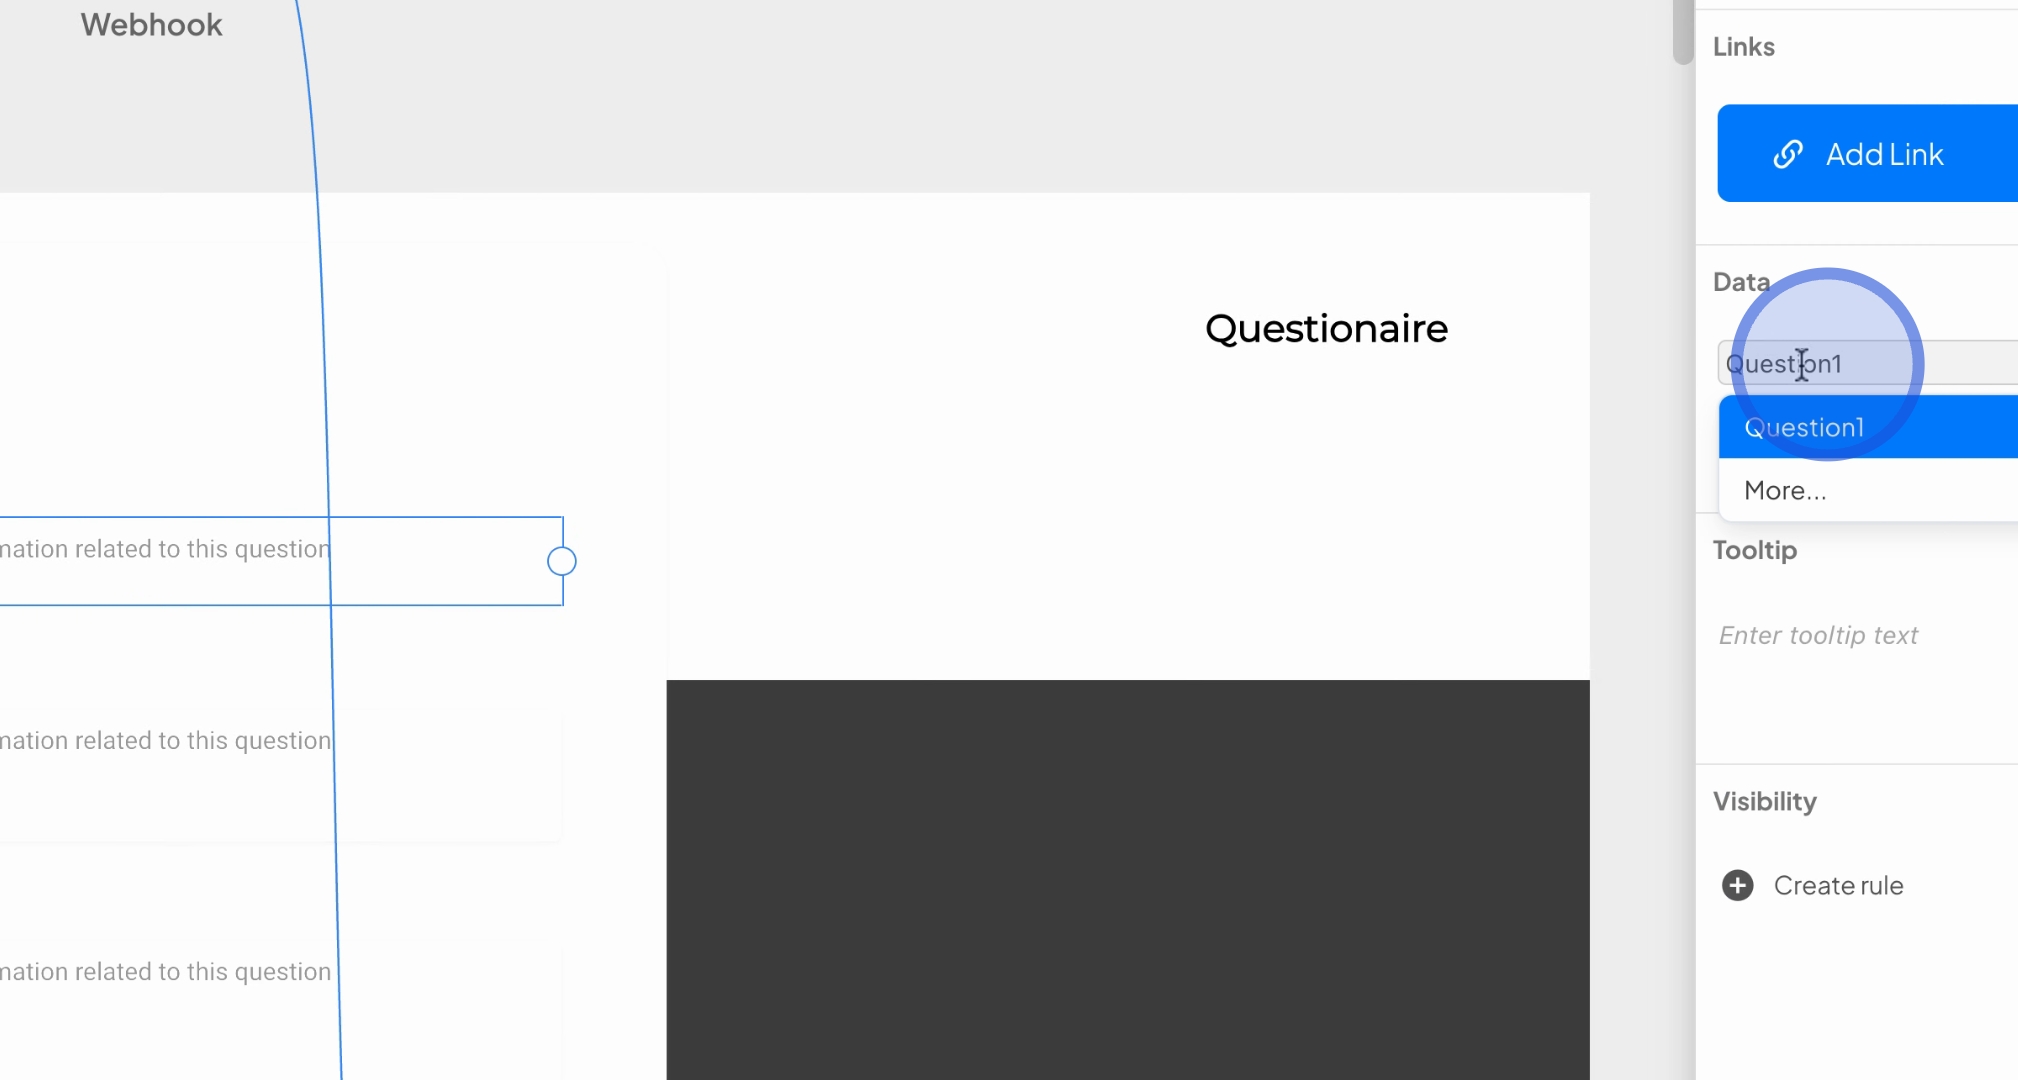
Once binding is successful, you will notice that the text input field is now linked to the variable. This variable can be reused in the future in various contexts, such as in a prompt builder, sending data to a webhook, or even in scripts.
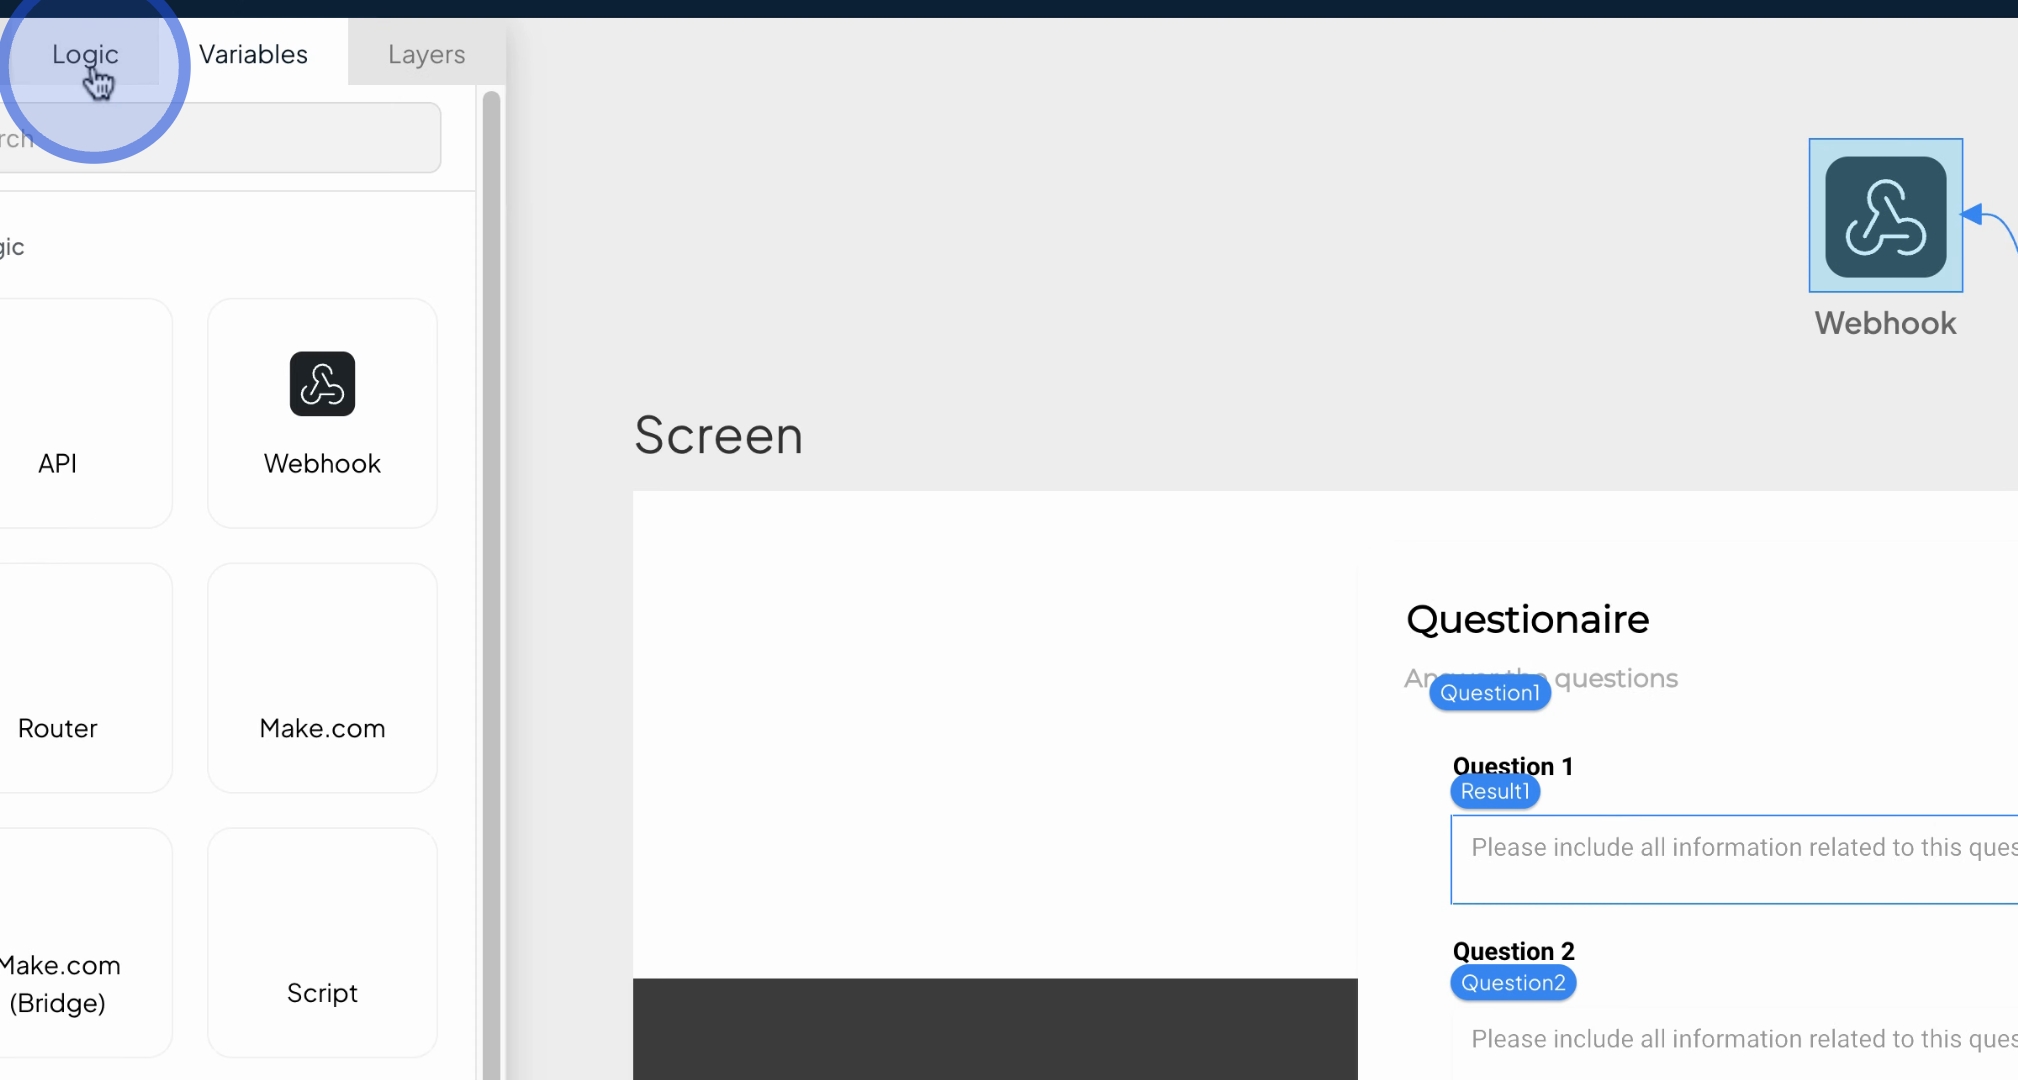
For a practical demonstration, let's explore the Prompt Builder. Navigate to the Logic tab and select the Prompt Builder. To load the prompt builder interface, double-click on it.
In the prompt builder, you can press the dollar sign to search for your variable result 1. This allows you to incorporate the variable into your prompt.
Consequently, the input received from the form will now be utilized in your prompt. This method enables you to insert prompts and replace the text derived from the form into the prompt effectively.
By following this guide, you will effectively understand how to create variables, bind them to UI elements, and utilize them within prompts and other components.