This tutorial will guide you through the process of creating a newsletter signup form using the Flowrabbit AI text to UI feature.
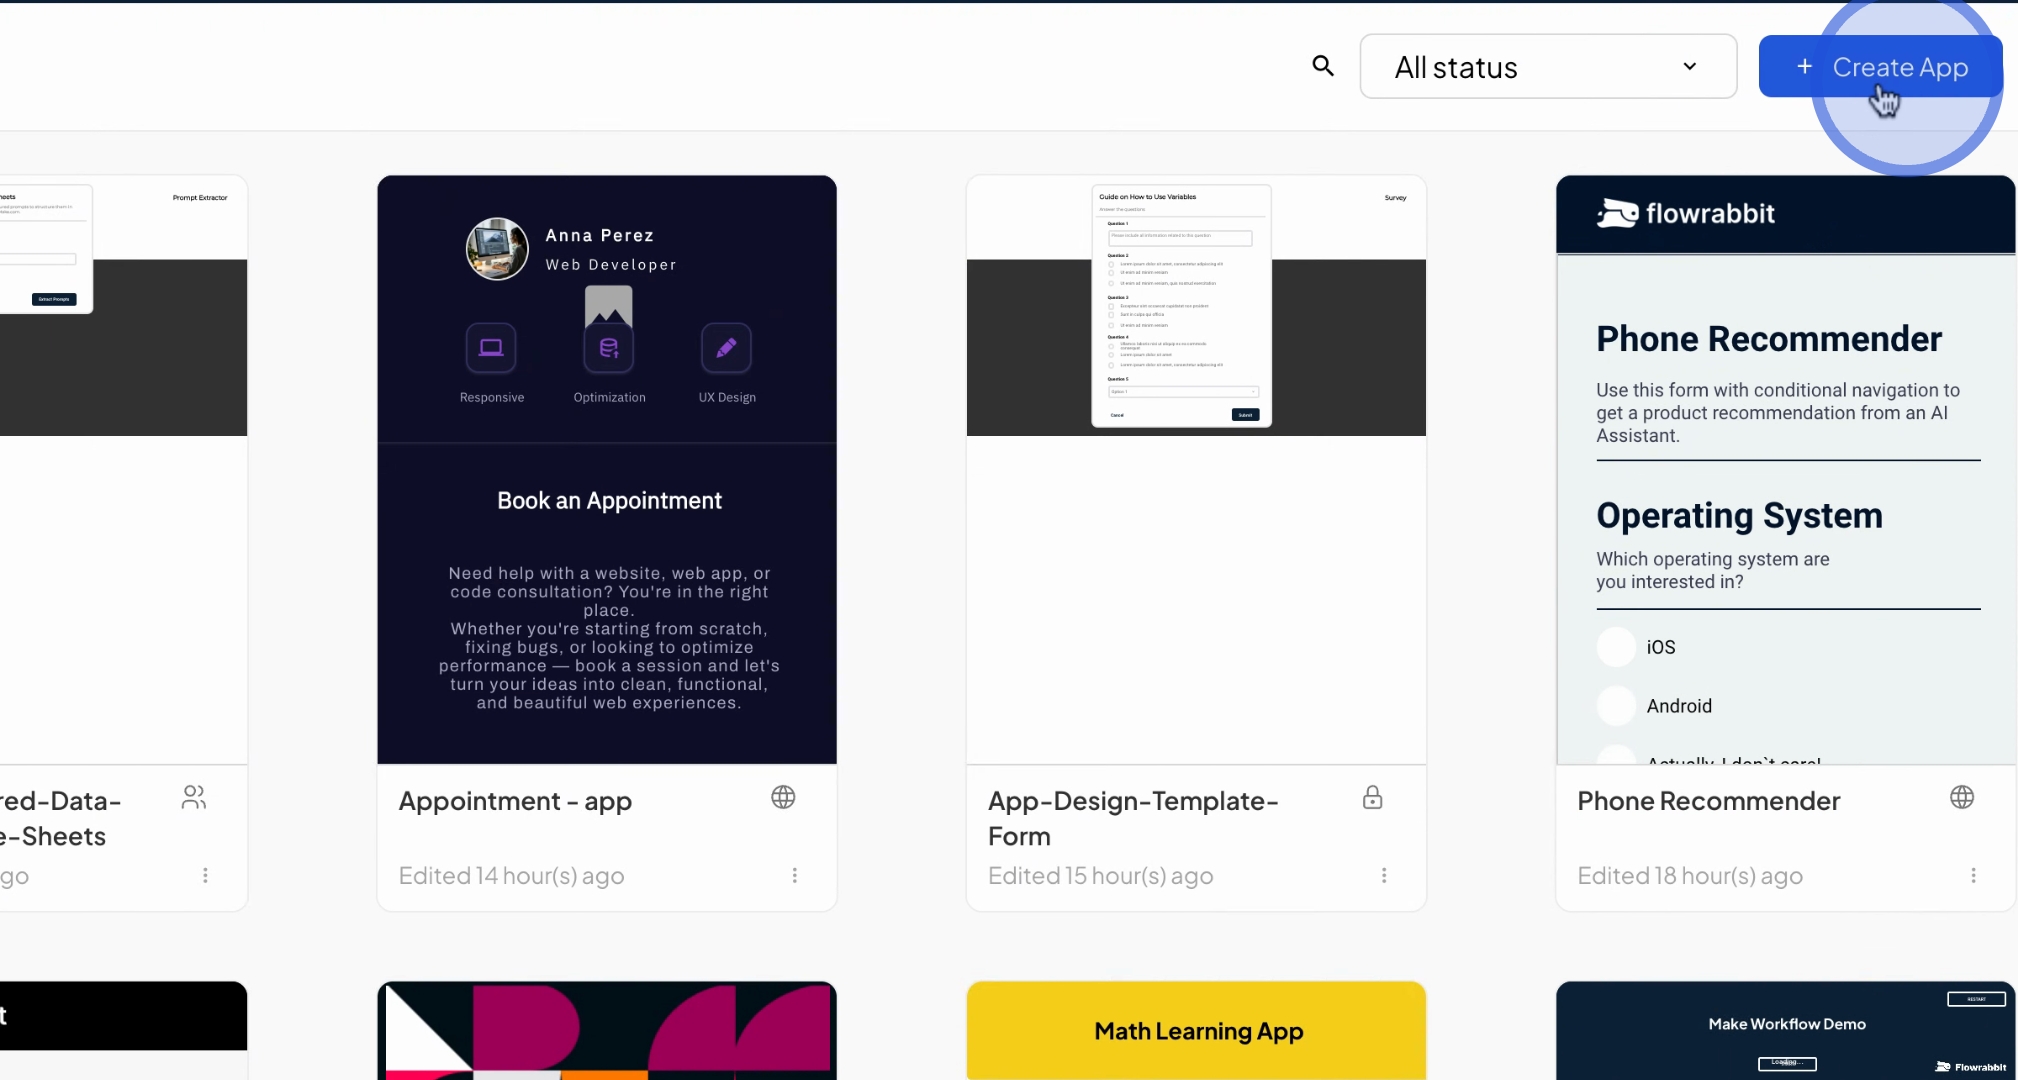
To begin, create a new app by pressing the Create App button located in the upper right corner.
Next, you will be prompted to enter a name for your app. For this tutorial, let's name it newsletter sign up.
Ensure it is set as a smartphone form, and then press Create to finalize the app creation.
Once the app is created, locate the floating bar at the bottom of the Infinity Canvas where you will find the little stars.
Clicking on the little stars will bring up a menu. From this menu, navigate to the text to UI feature and press on it.
You will now see a dedicated space to describe the screen you want the AI to design.
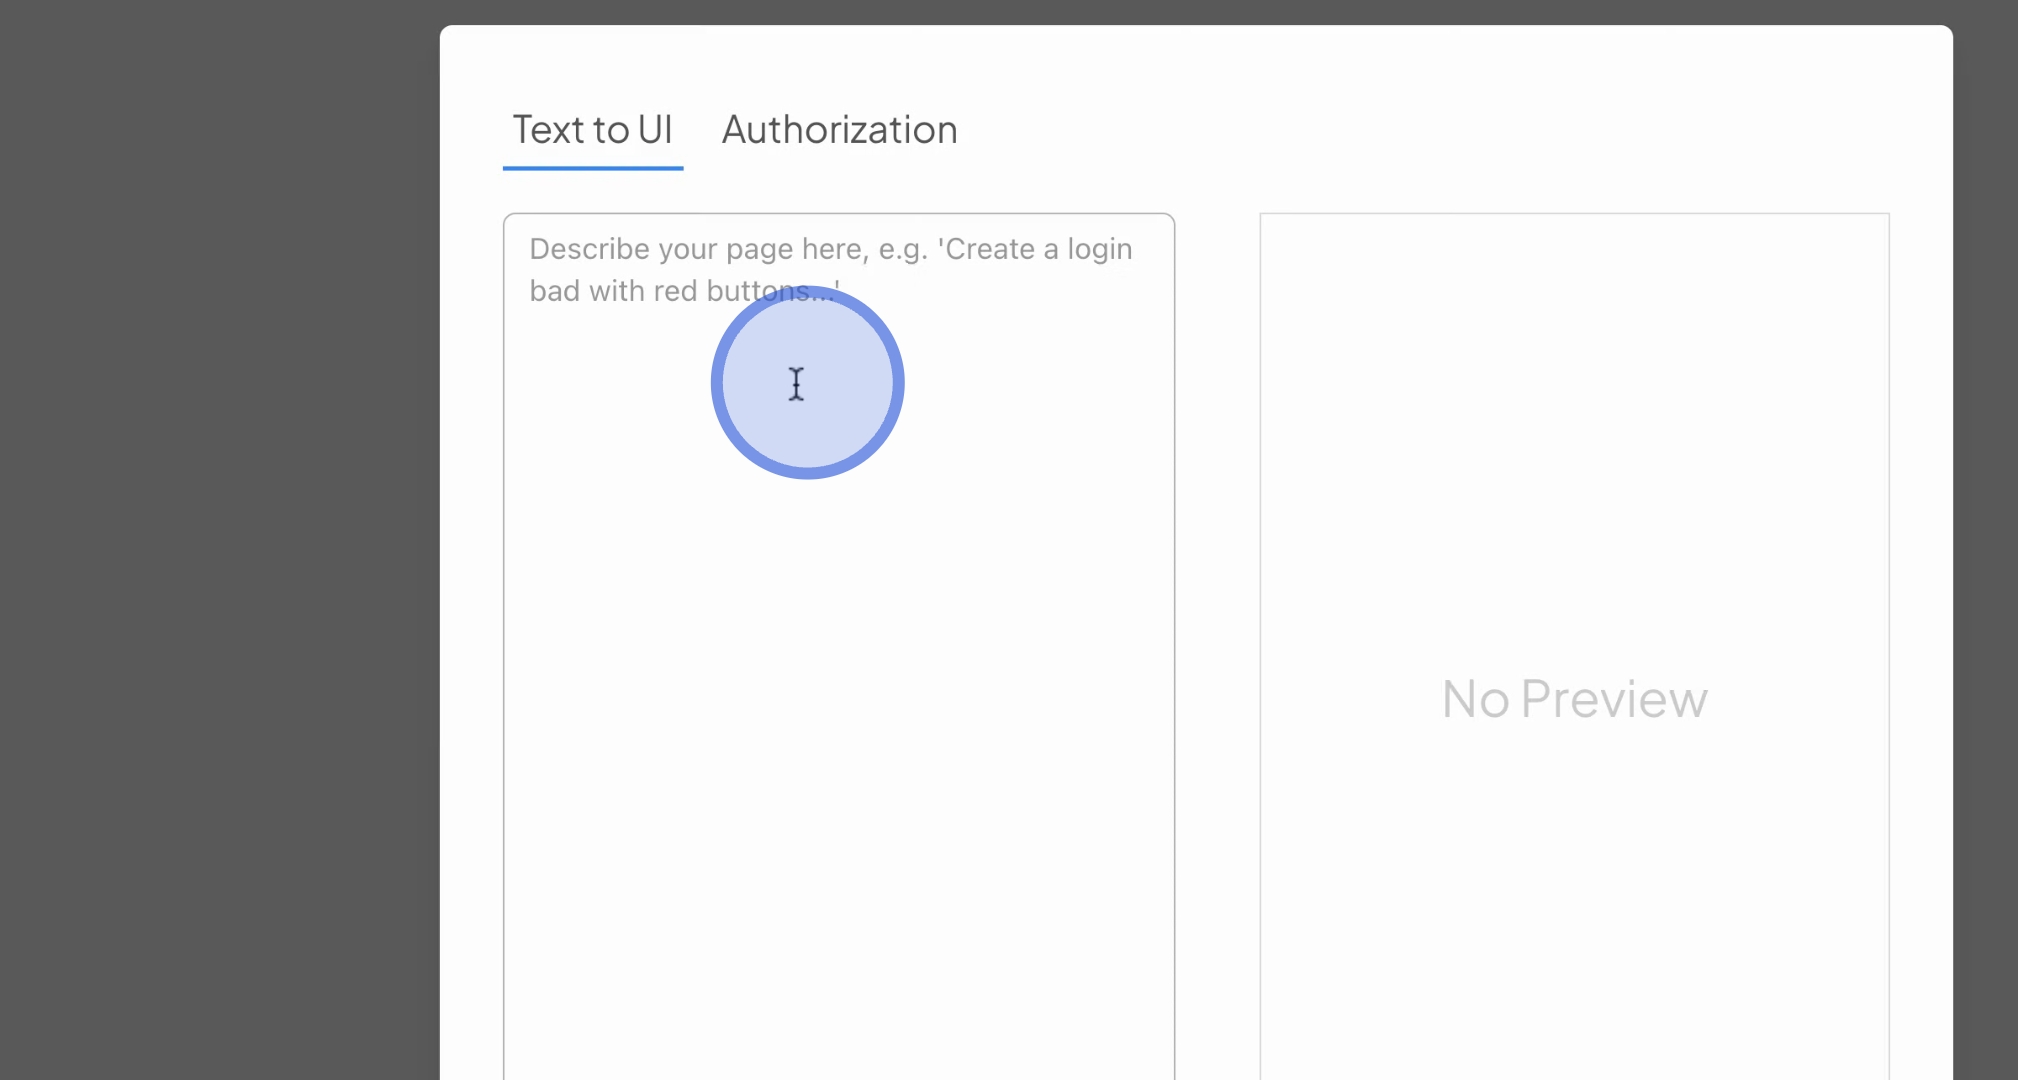
For this task, you need to instruct the AI to create a form that collects the user's name, phone number, and email for newsletter subscriptions.
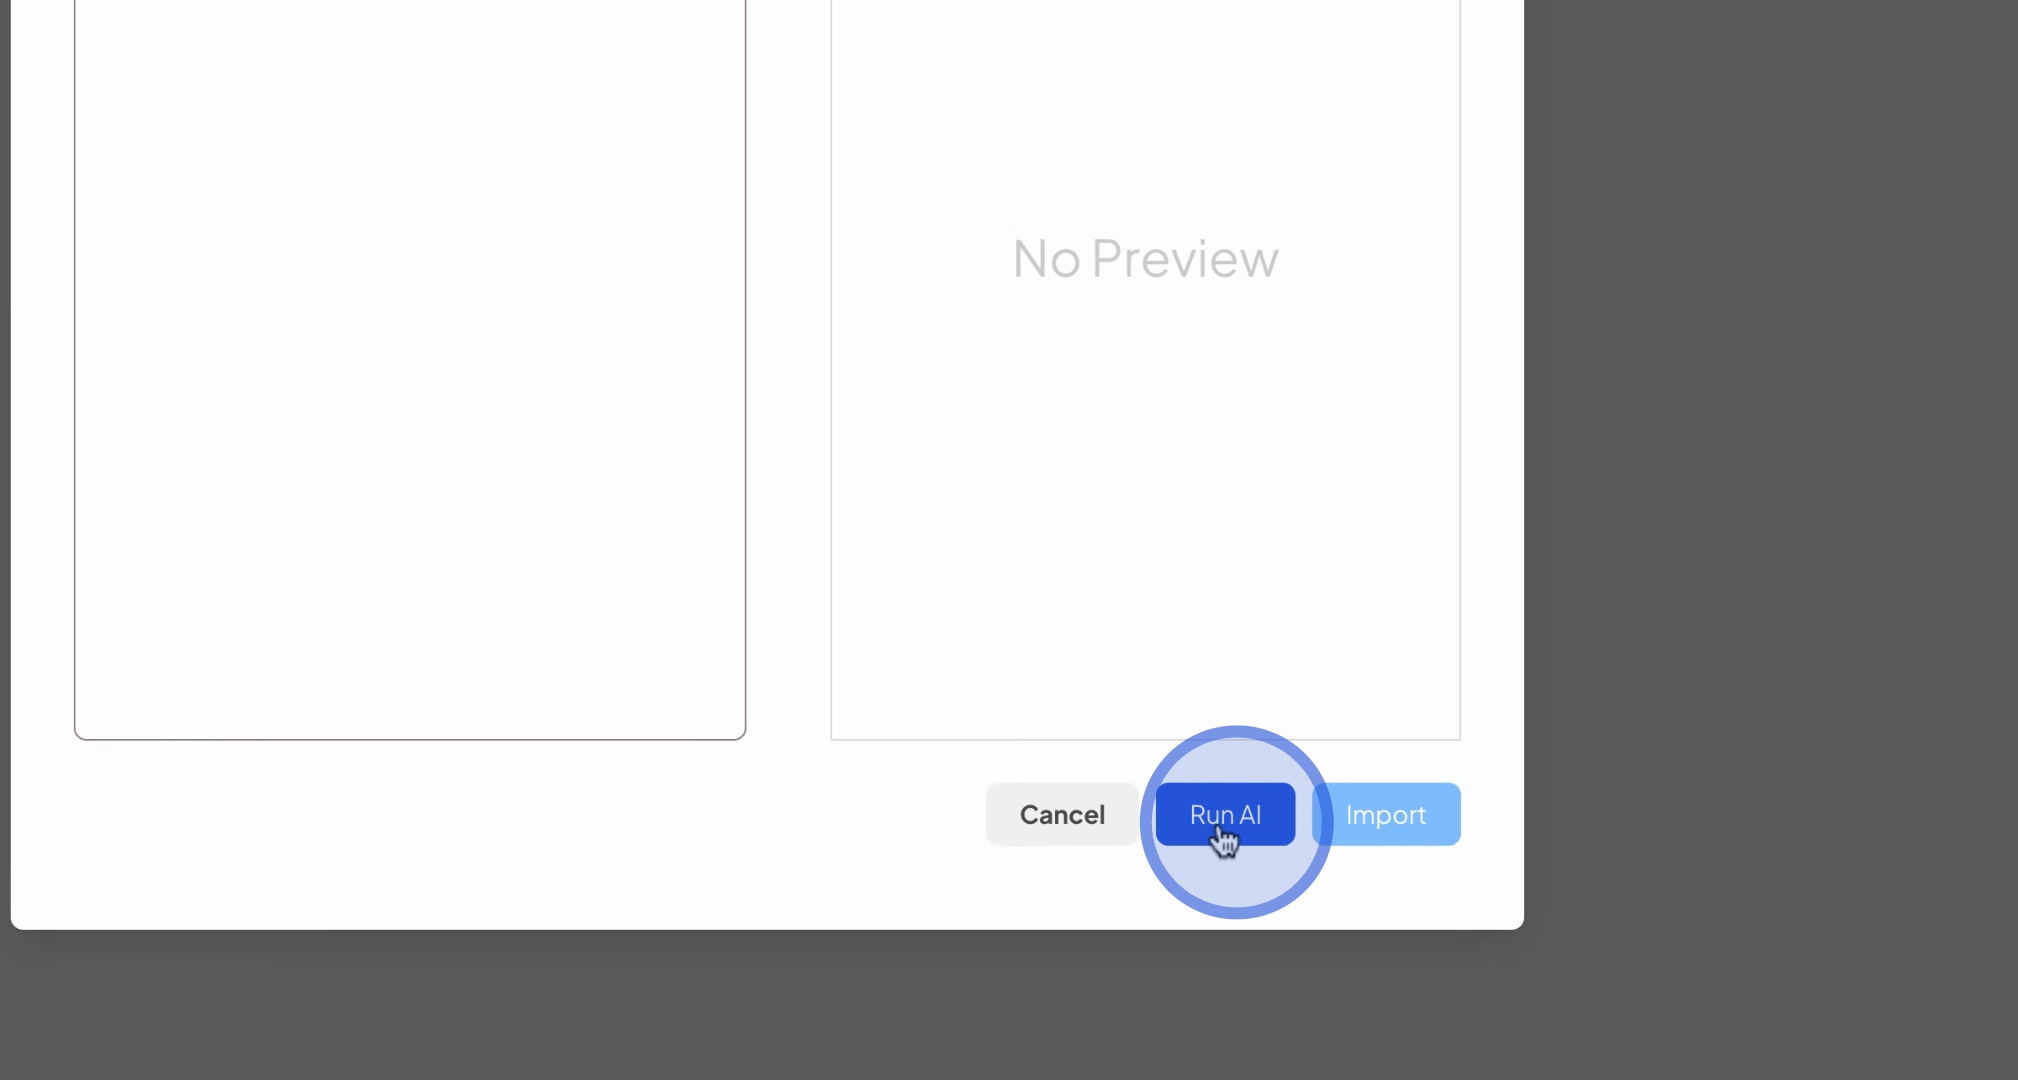
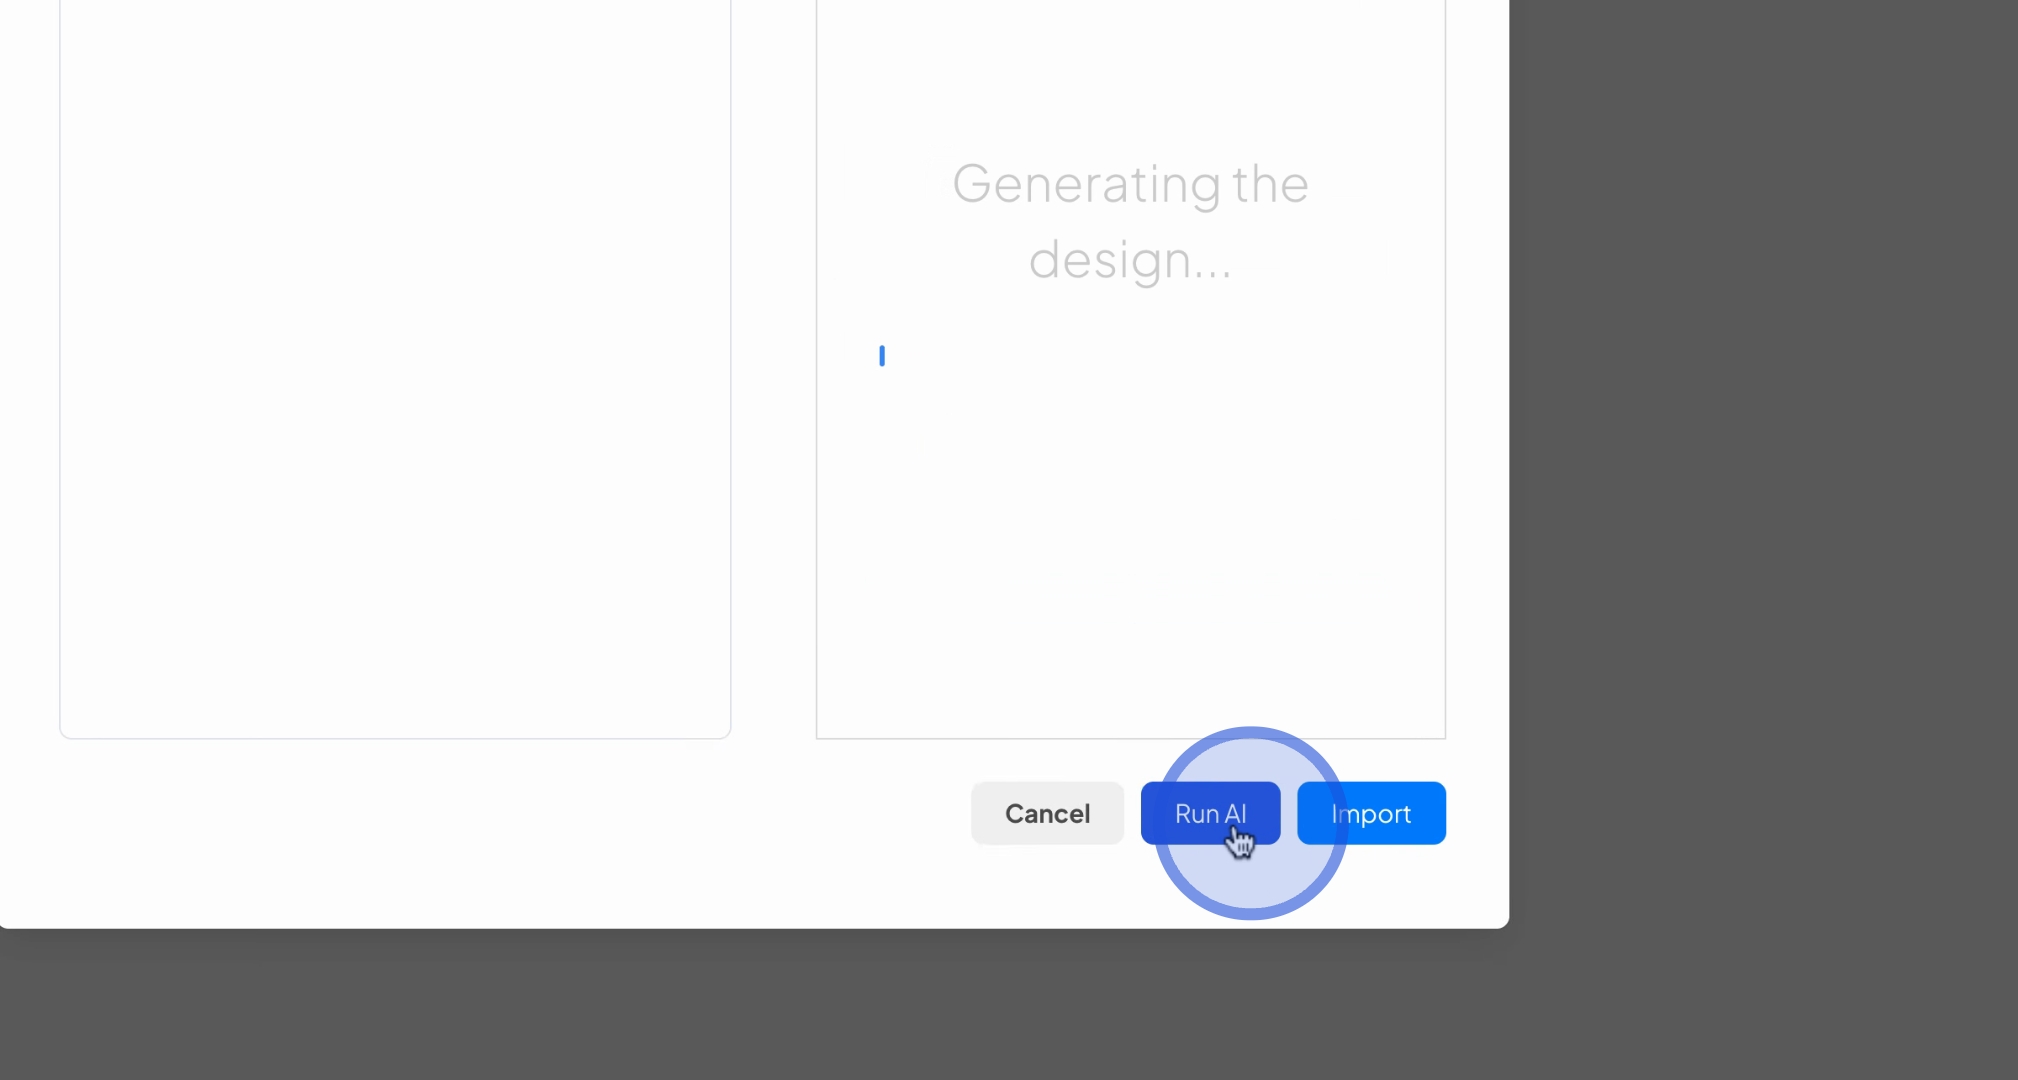
Once you have finished describing your screen, press Run AI to initiate the form creation.
You will immediately see a draft for the UI design.
If the draft does not meet your expectations or contains errors, press Run AI again to generate a new design.
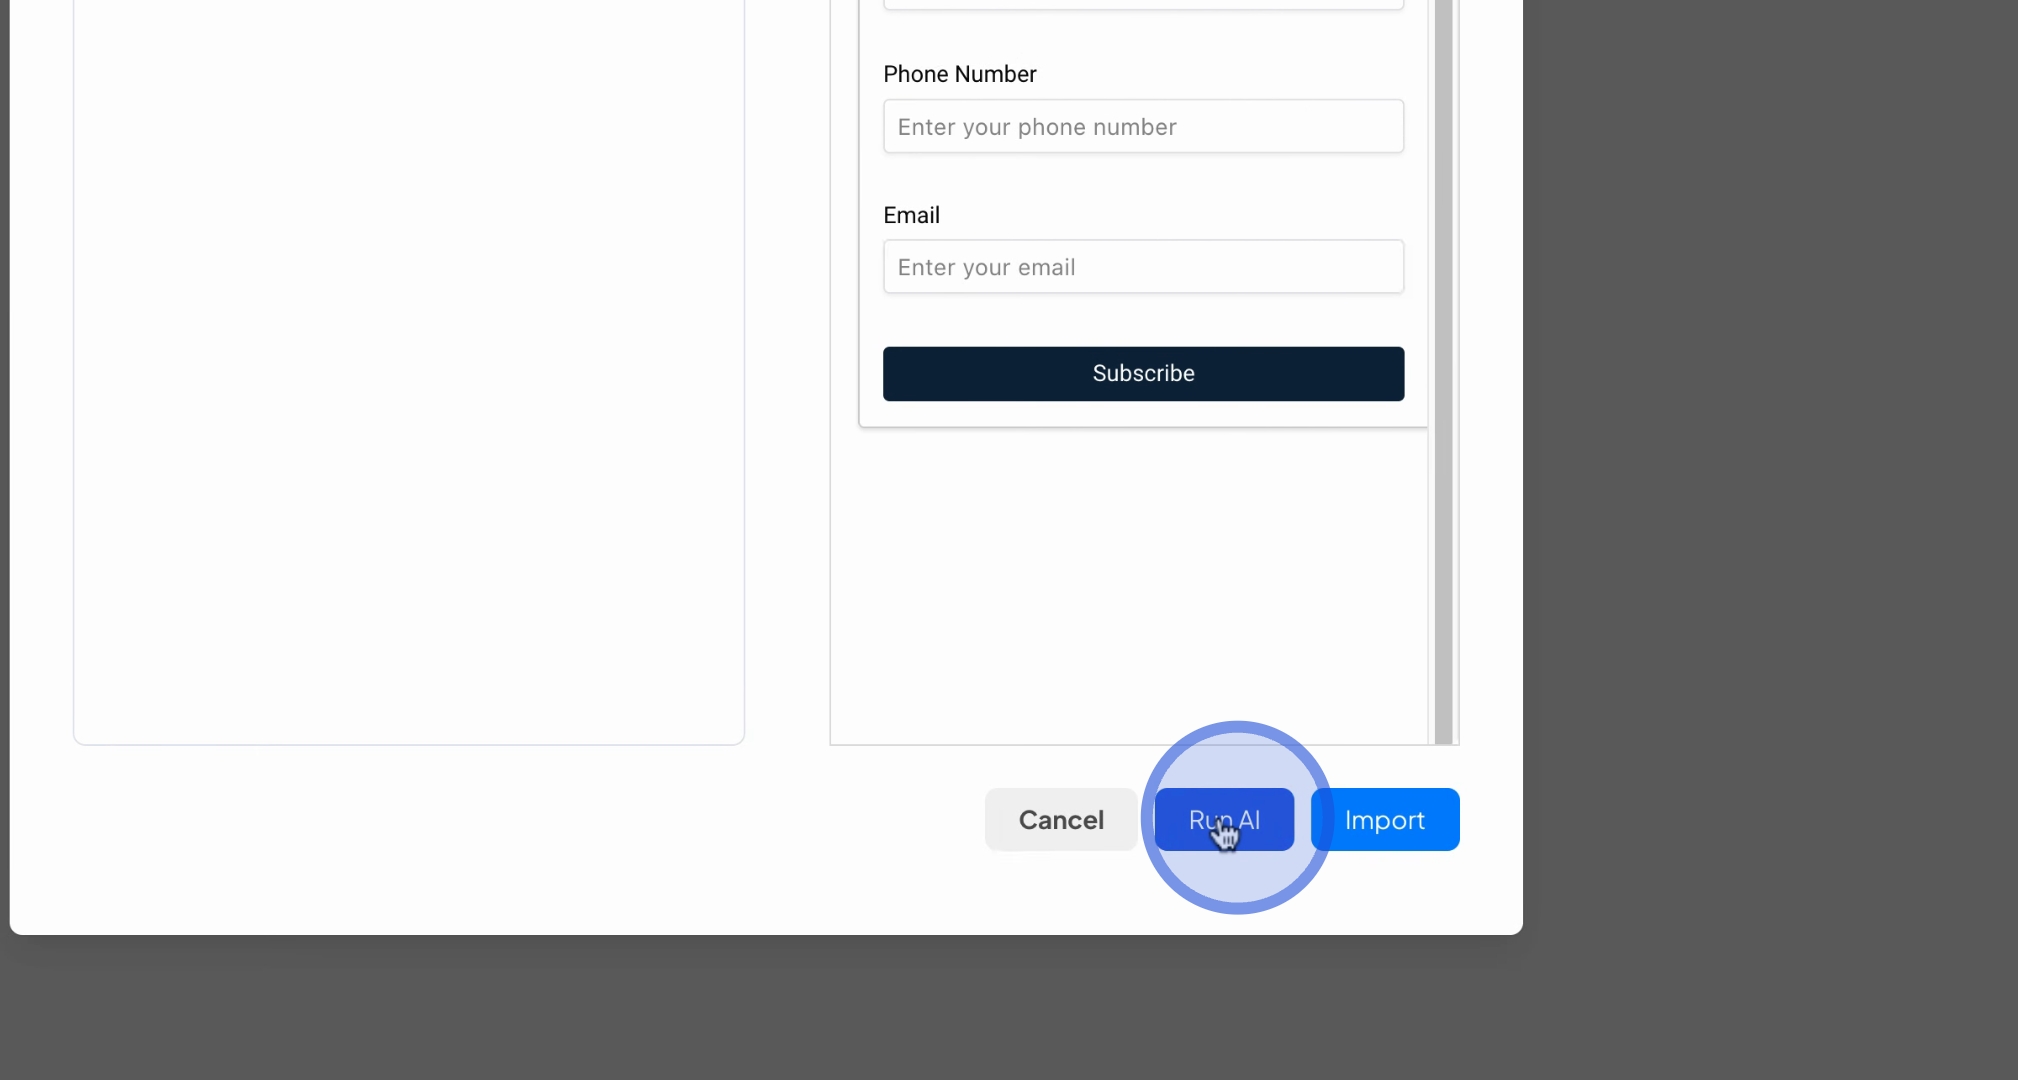
Feel free to repeat this process until you achieve a satisfactory result.
Be aware that sometimes bugs may occur, but you can resolve them by pressing Run AI again or modifying your prompt for better clarity.
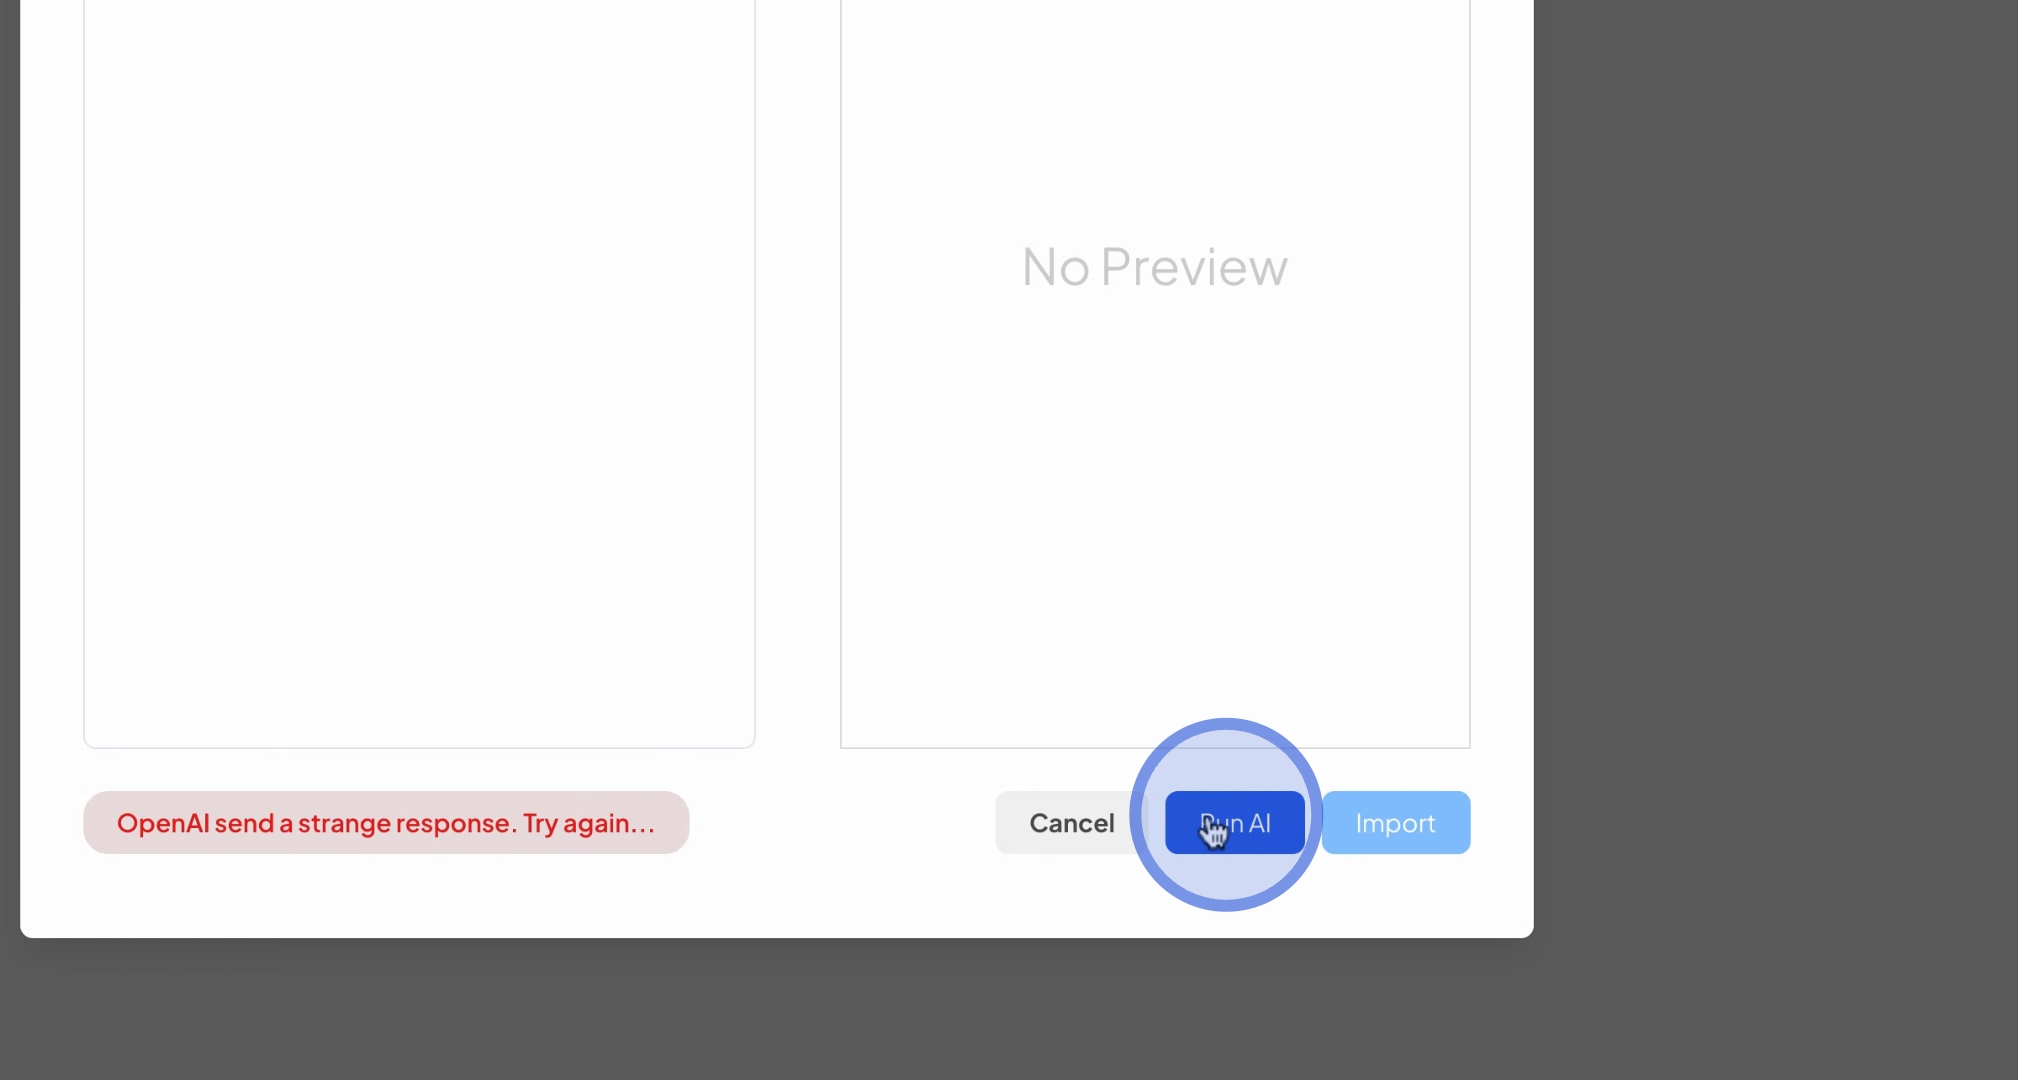
This adjustment helps the AI better understand your requirements.
Once you are satisfied with the design, simply press import.
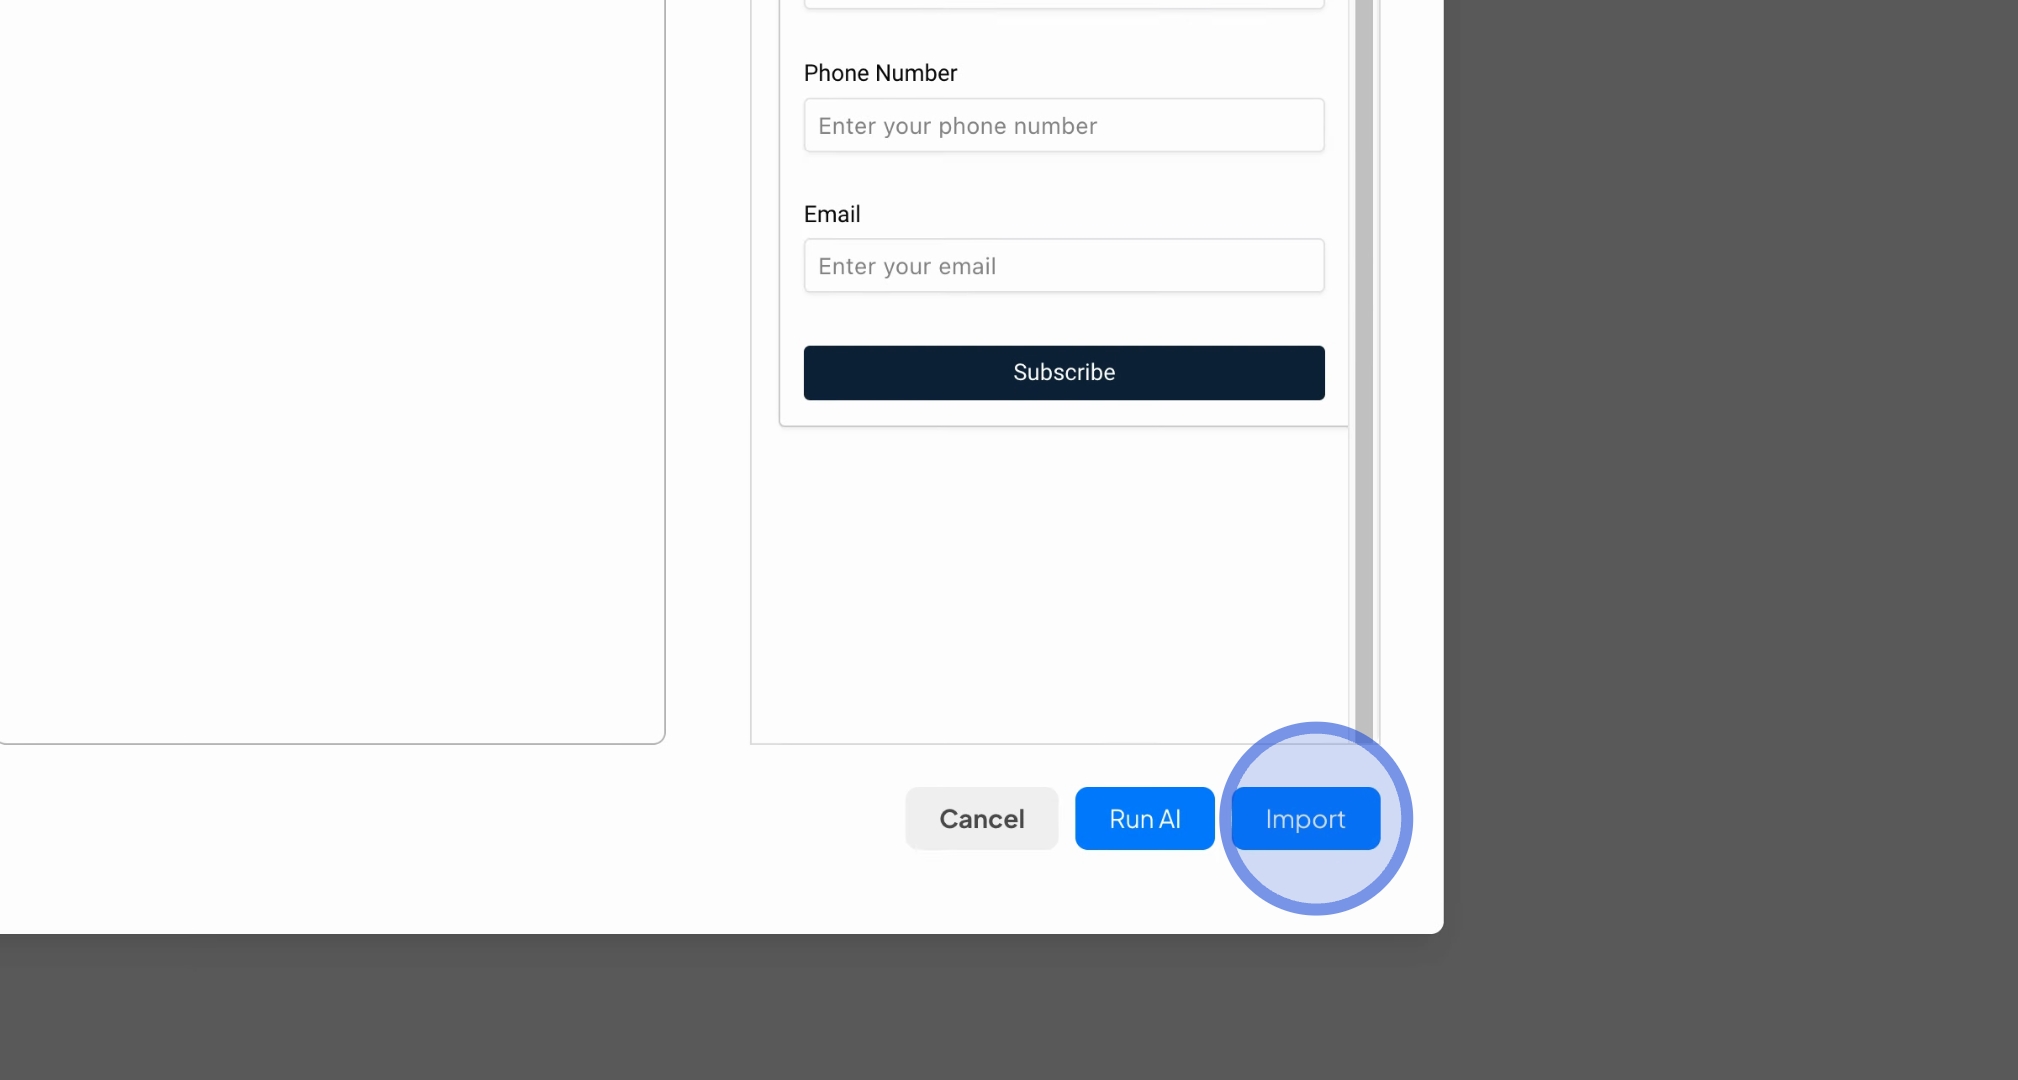
You can then place your newly created newsletter signup form onto your Infinity Canvas. Congratulations, your newsletter signup form is now ready!
Feel free to fully customize it to your liking, including designing buttons and performing any necessary data binding.
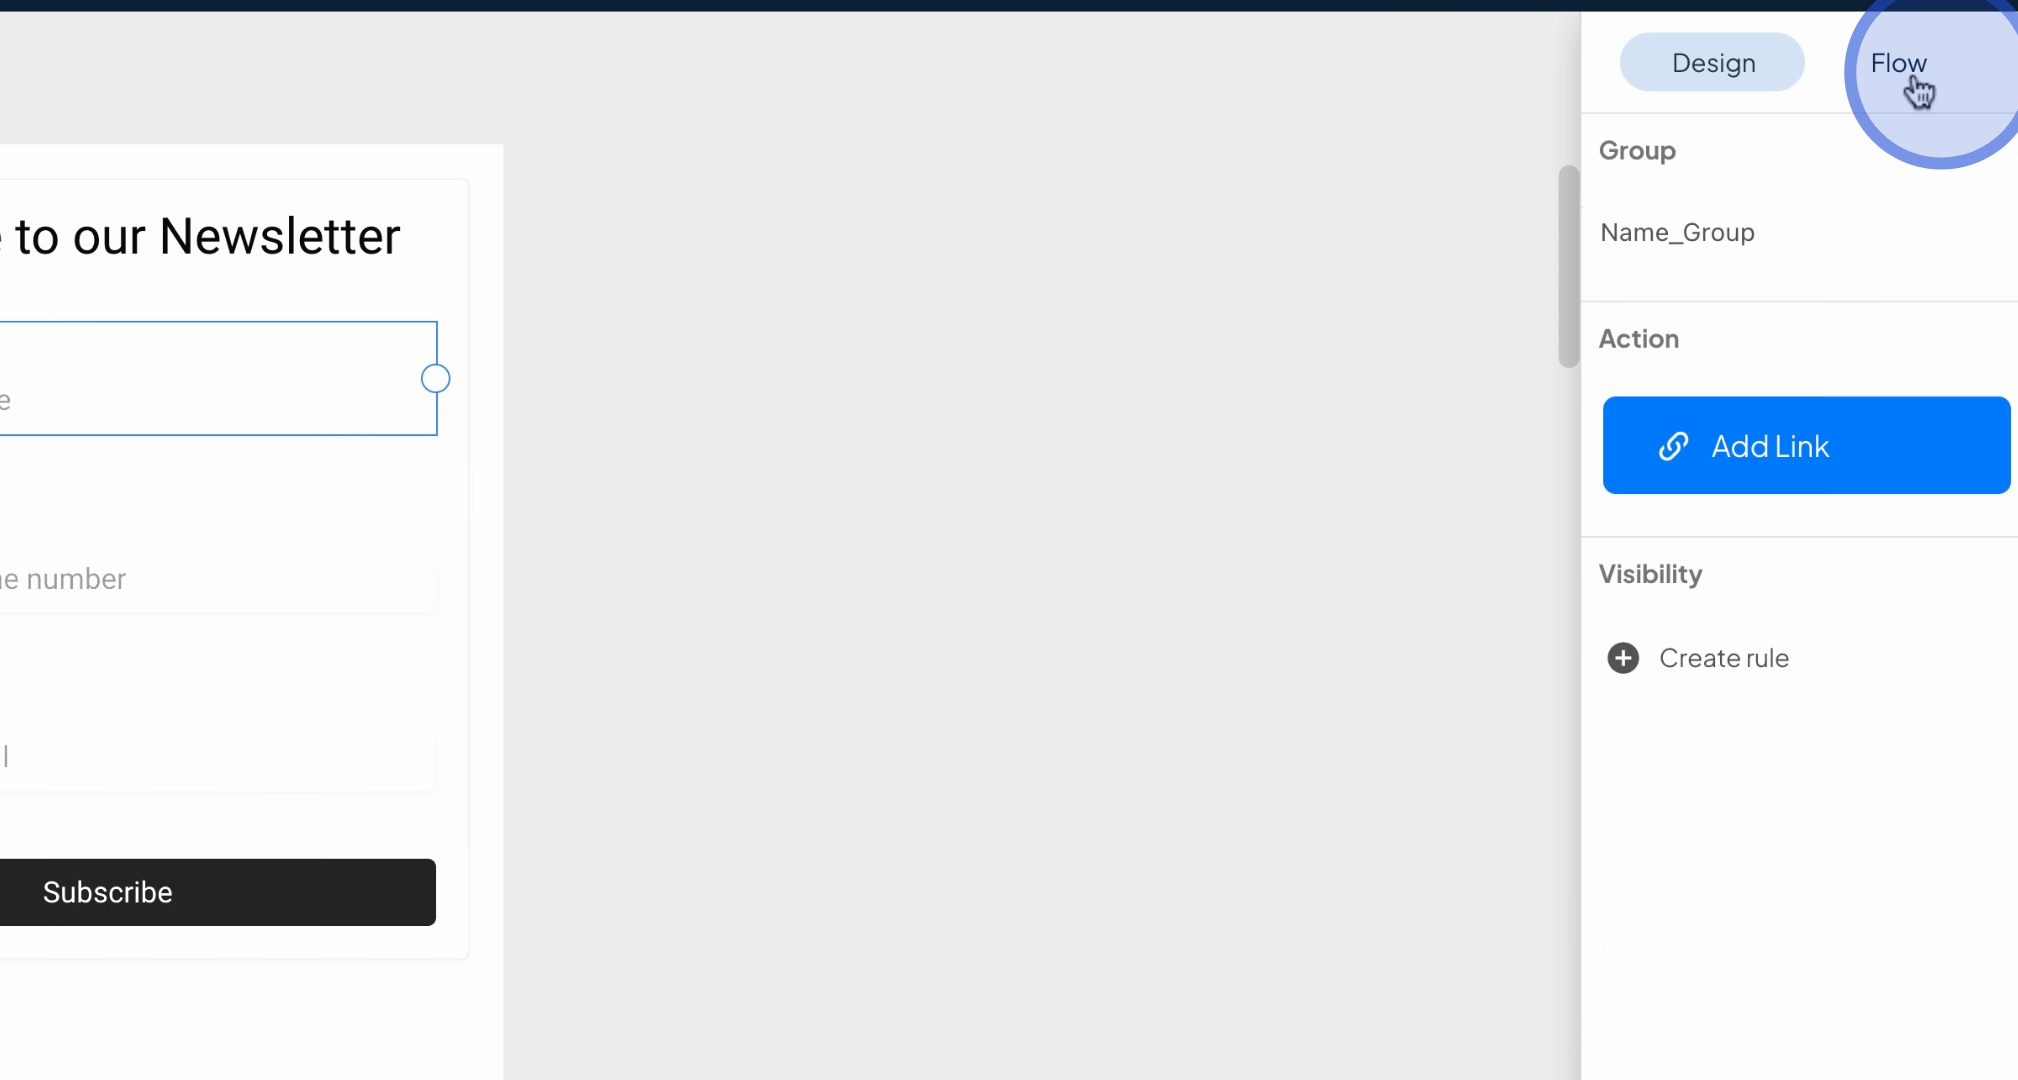
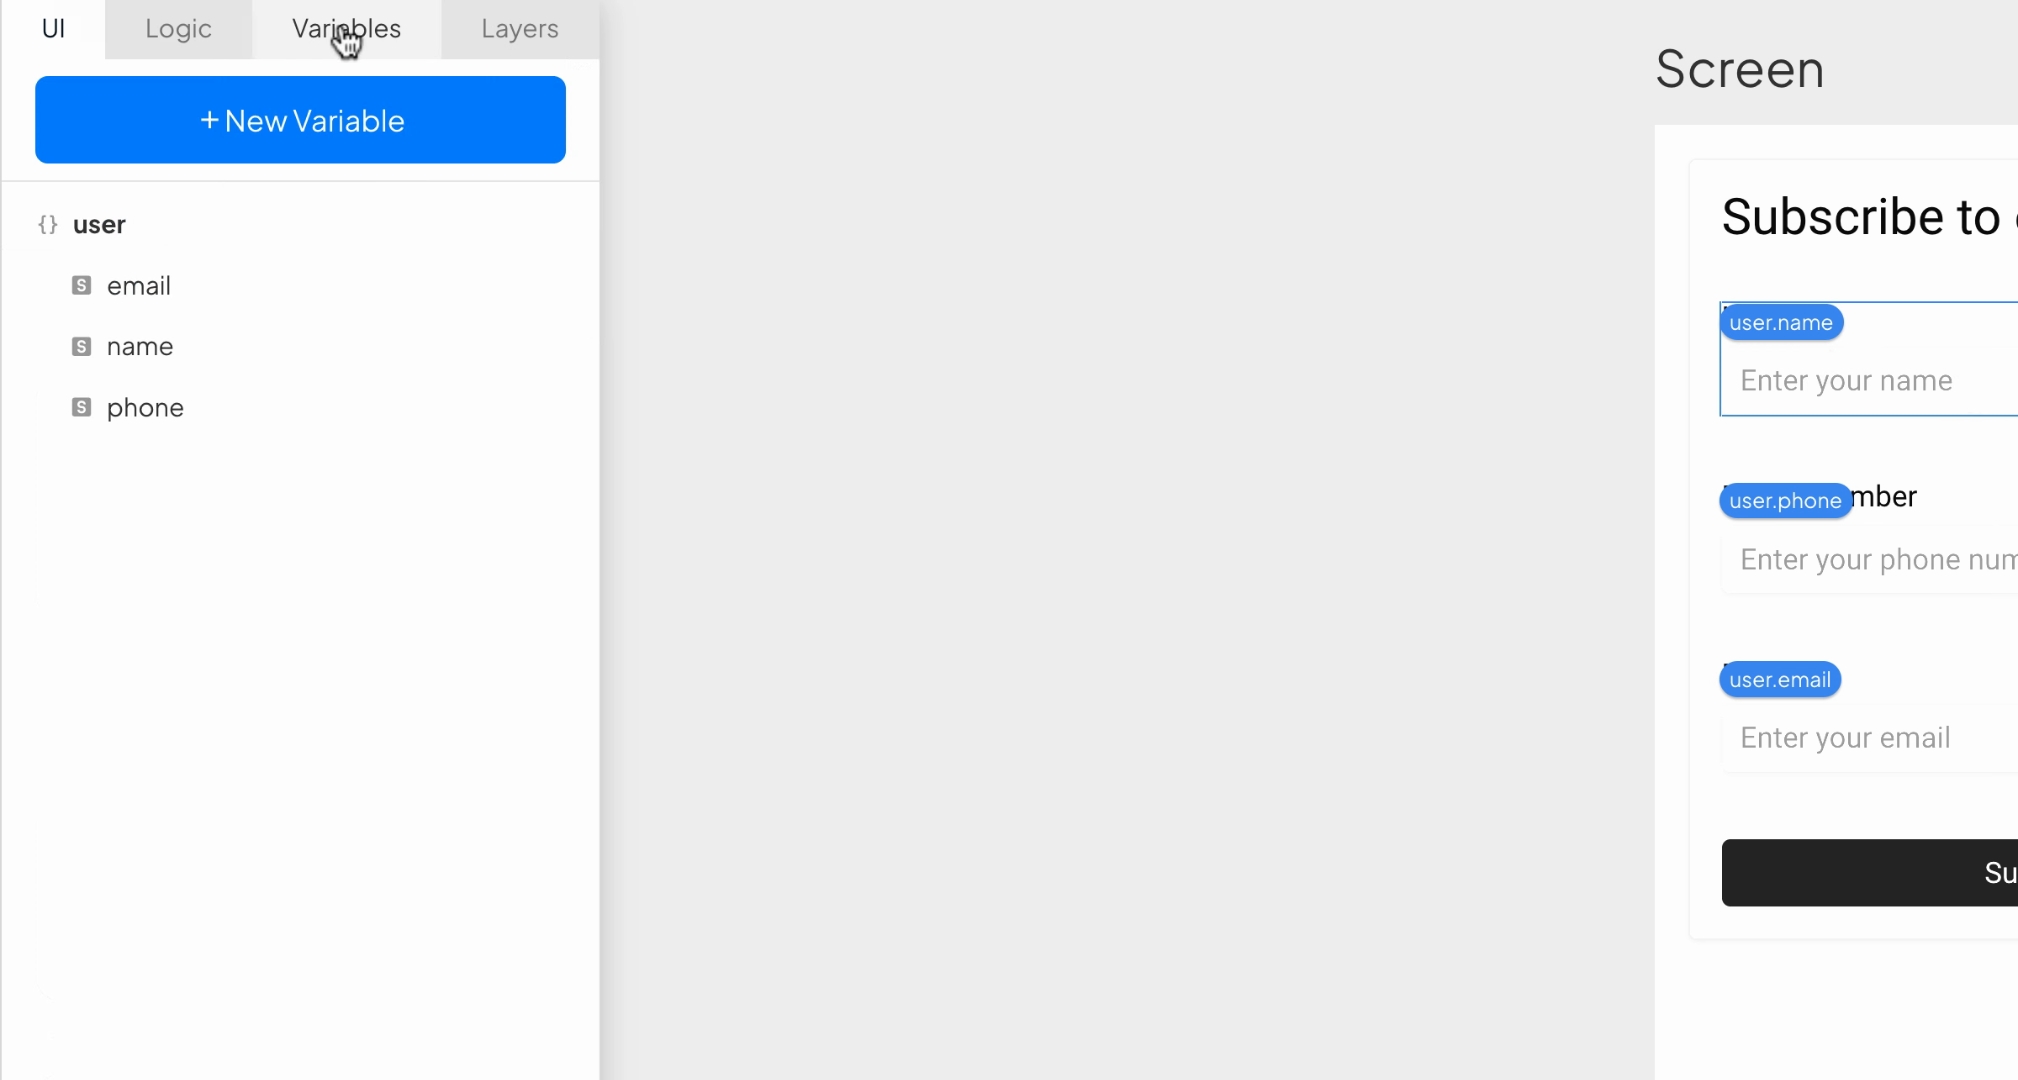
Our text2UI generally automates the creation of necessary variables, as demonstrated here where an object was generated containing the variables email, name, and form, with data binding already applied.
We hope you enjoy using our text to UI feature.
Your feedback is appreciated!
By following these steps, you have successfully created a newsletter signup form that can be customized and utilized for your needs.